
FFmpeg is one of the most trusted open source tools in audio and video processing. It has existed since 2000 and is used by software engineers, content creators, audio researchers and many others. It runs on Windows macOS Linux and supports many input output formats. In this guide I will explain how to install FFmpeg basic commands advanced features use cases troubleshooting tips trends and predictions. I will also show how audio tools and speech APIs like Graphlogic’s come into play.
What is FFmpeg?
FFmpeg is a suite of libraries and tools for handling multimedia content such as audio video subtitles and metadata. It includes libavcodec for encoding and decoding various codecs libavformat for muxing demuxing containers and libavfilter for filters and effects.
It can read from regular files, pipe network streams or live capture devices, convert formats, apply filters, trim segment merge tracks or extract audio.
FFmpeg supports many audio formats including MP3 WAV FLAC AAC Opus and more. It supports uncommon formats too and many codec options.
Why Use FFmpeg for Audio Processing?
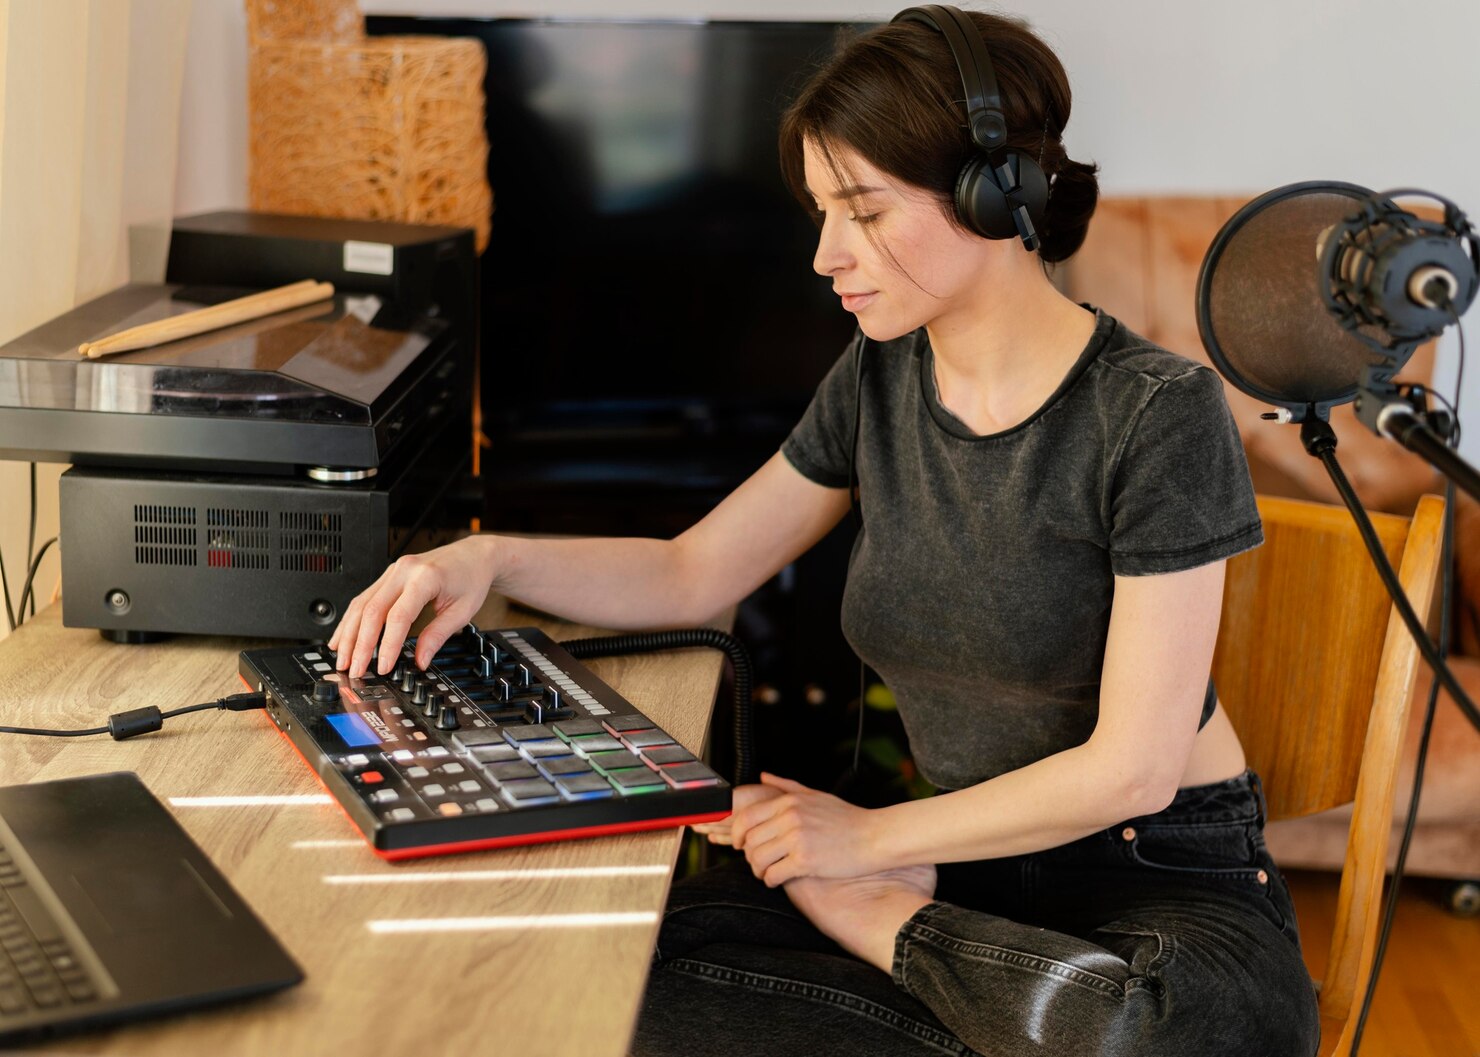
Using FFmpeg offers many benefits especially in medical research, audio analysis, telemedicine speech diagnosis or content creation in health tech. Here are key advantages:
- Versatility Many codecs containers, filters and workflows are supported.
- Speed It performs well in batch jobs and with large files.
- Scriptability You can write scripts for repeated workflows, automate processing and integrate with other tools.
- It is free under LGPL or GPL depending on build options.
Medical settings often require precise audio analysis for speech pathology hearing tests, stethoscope recordings or remote diagnostics. FFmpeg allows normalization, volume adjustment, noise filtering and more features crucial for high fidelity. Studies show loudness normalization and consistent sample rates improve diagnostic audio quality.
Installing FFmpeg
Installing FFmpeg depends on your operating system, but the overall process is simple once you know where to look. Each system has its own tools and trusted sources. Here are detailed instructions for Windows, macOS, and Linux.
Windows
On Windows the safest option is to download a static build from the official FFmpeg site or a verified mirror such as Gyan.dev. After downloading, extract the folder to a location that is easy to find, for example directly on drive C. Inside the folder you will see a bin directory. This directory contains the main FFmpeg program file.
To make sure Windows can find FFmpeg whenever you type commands, you must add this bin folder to the PATH environment variable. This is done through the System Properties panel under Environment Variables. Once you add the folder path and restart the command prompt, you can type the version check command and see if it works.
Extra tips for Windows users
- Keep the extracted folder in a permanent place, not in Downloads, to avoid broken links.
- If you need extra codecs that are not included in the official build, look for custom builds with extended libraries.
- For automation, many users keep a separate folder only for audio projects and include FFmpeg in their workflow scripts.
macOS
On macOS the most common way is to use Homebrew, the popular package manager. Homebrew makes installation easy and keeps the program updated with a single command. If you already use MacPorts you can also install FFmpeg that way. A third option is compiling FFmpeg from the original source code, which is useful if you want very specific features.
During installation you can decide whether to include additional libraries such as those for advanced audio codecs or video compression standards. macOS users who work with professional audio often compile from source to have full control.
Extra tips for macOS users
- If you are blocked by security settings, check the Security & Privacy menu and allow the application to run.
- Some advanced codecs may not be enabled by default in Homebrew builds, so advanced users sometimes rebuild with custom flags.
- For those using FFmpeg in audio production or telemedicine research, compiling ensures consistency over years of use.
Linux
Linux users have more than one option, but the simplest is to use the package manager included with the distribution. On Debian or Ubuntu you install directly from the default repository. On Fedora or CentOS you can use their package tools as well.
However, in some Linux distributions certain codecs are excluded because of license issues. In this case you need to add a third party repository such as RPM Fusion. Another choice is to compile FFmpeg from source to get the newest features. This method requires installing additional libraries first, then building FFmpeg step by step.
Extra tips for Linux users
- The version from your distribution might not be the latest. If you want cutting edge updates you may need to compile.
- For research environments it is common to keep both the stable package manager version and a custom compiled version.
- If using FFmpeg on a shared server, confirm with administrators which libraries are allowed because some codecs have strict licensing.
Verifying Installation
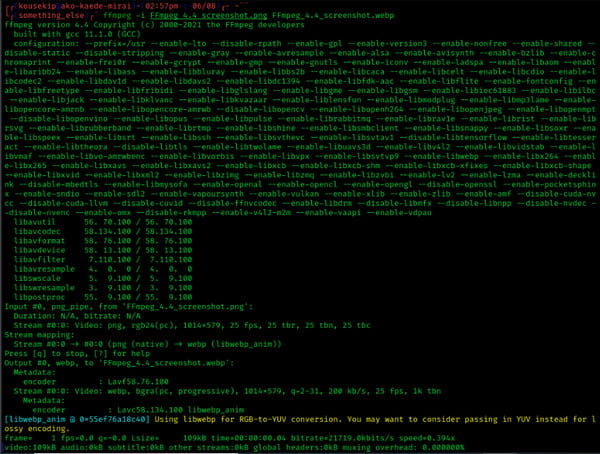
After completing installation on any operating system, you should always confirm that FFmpeg is working. Open a terminal or command prompt and check the version. The output will show the version number and list of enabled codecs and libraries. This is important because some builds include only basic codecs while others have a wider set.
You can also test with a small audio file. If the program processes the file without errors, your installation is successful. For advanced users it is helpful to list all available filters and codecs to understand the full capability of the build.
Rare but Useful Checks
- Always verify that the codecs you need for your workflow appear in the version information.
- If you cannot find support for a specific codec such as AAC or FLAC, that means your build does not include it and you need to use a different build.
- On Linux servers and macOS machines used in research, it is common to document the build options for future reproducibility.
Basic FFmpeg Commands for Audio
Once installed you will need a few basic commands for conversion extraction, trimming volume etc. Here are examples with explanations.
Convert audio formats
ffmpeg -i input.mp3 output.wav
This converts MP3 to WAV using default parameters
Extract audio from video file
ffmpeg -i input.mp4 -vn output.mp3
The -vn option disables video stream so only audio is extracted
Adjust volume
ffmpeg -i input.wav -filter:a “volume=1.5” output.wav
Volume 1.5 means increase by 50%
Trim or cut audio
ffmpeg -i input.mp3 -ss 00:00:30 -t 00:01:00 output.mp3
This skips first 30 seconds then keeps next 1 minute
Change sample rate or channels
ffmpeg -i input.wav -ar 48000 -ac 2 output.wav
This sets sample rate to 48000Hz stereo output
Converting Audio Formats
You may need to convert between formats for compatibility or quality reasons. Common conversions include WAV to FLAC for lossless quality MP3 to AAC for smaller size or Opus for streaming efficiency. Use -c:a to specify codec for audio. If you omit audio codec FFmpeg picks default. You can also control bitrate with -b:a. Low bitrate may lose fidelity crucial in clinical audio.
Extracting Audio from Video Files
Video recordings often carry audio you need to analyze speech sounds, noise or other diagnostic signals. Use -vn to ignore the video stream then select output format. Example command works when recording patient interviews, lectures or remote consultations. Also useful combination with speech recognition APIs to transcribe.
Advanced FFmpeg Audio Features
When you grow beyond basics you need filters, metadata mixing batch processes or unusual formats. These advanced features make FFmpeg suitable for research quality audio work.
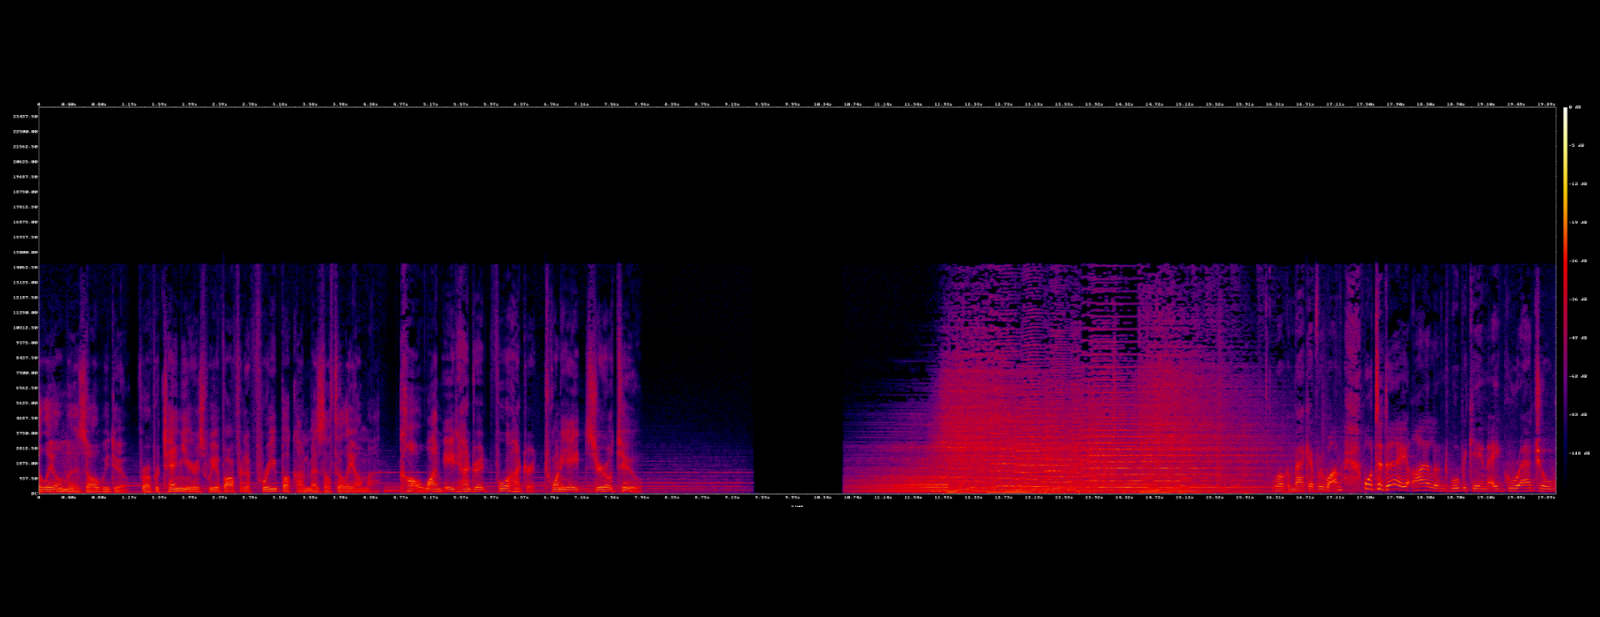
Audio filters include equalization reverb echo normalization dynamic range compression channel mapping virtual surround or binaural acoustics. Many medical audio tasks benefit from filtering noise or enhancing speech clarity. For example, a highpass filter removes low rumble noise. Reverb filters simulate room acoustics. Virtual binaural output useful for headphone based hearing tests.
Mixing tracks allows you to combine multiple audio sources such as background ambient track and voice track. Useful in telehealth where one track is patient voice another is system beeps or instrument sounds.
Metadata editing allows labeling files with patient id deidentified code sampling rate record date location and notes. Many archives follow metadata standards like ID3 or WAV chunk metadata.
Batch processing helps when working with many files such as many patient audio recordings lectures or sensor dumps. Use shell scripting loops on Linux or PowerShell on Windows.
Applying Audio Filters
Here are some useful filter examples and rare details.
- atempo filter changes playback speed without changing pitch readable speech speed can be adjusted for training data for speech recognition
- volume for normalizing loudness across recordings
- highpass, lowpass for filtering out frequencies below or above thresholds such as removing rumble below 80Hz or hiss above 12kHz
- loudnorm EBU R128 style normalization for meeting broadcast or clinical standards (FFmpeg)
Also filter graphs allow chaining filters. For example you first apply highpass then loudnorm then any equalizer like butterworth bandpass.
Batch Processing Audio Files
Batching saves time. Rare detail do not use spaces in file names or quote properly to handle spaces in filenames under Unix systems. Use something like:
for f in *.wav; do ffmpeg -i “$f” -filter:a “volume=1.2” “${f%.wav}_norm.wav”; done
You can add nested loops to process subfolders. On Windows use PowerShell:
Get-ChildItem *.wav | ForEach-Object { ffmpeg.exe -i $_.FullName -filter:a “loudnorm” ($_.BaseName + “_norm.wav”) }
Mind parallel execution if CPU cores are many. Use the -threads option.
Common Use Cases for FFmpeg in Audio
FFmpeg is widely applied across healthcare, research, education, and technology. Its ability to handle many formats and filters makes it a reliable foundation for professionals who work with sound in sensitive and demanding environments. Below are some of the most important use cases, along with details that are less commonly discussed but highly relevant for experts.
Speech analysis in clinical and research settings
Phonetics research, language studies, and speech therapy often depend on high quality recordings. Clinicians studying conditions such as dysarthria or apraxia need audio with a consistent sample rate and minimal background noise. FFmpeg allows normalization and precise filtering, which helps when comparing multiple sessions over months of therapy.
Rare but important detail: researchers often convert files into a lossless format like FLAC before analysis. This prevents data loss when measuring subtle differences in frequency or intensity that may indicate progress or decline in speech ability.
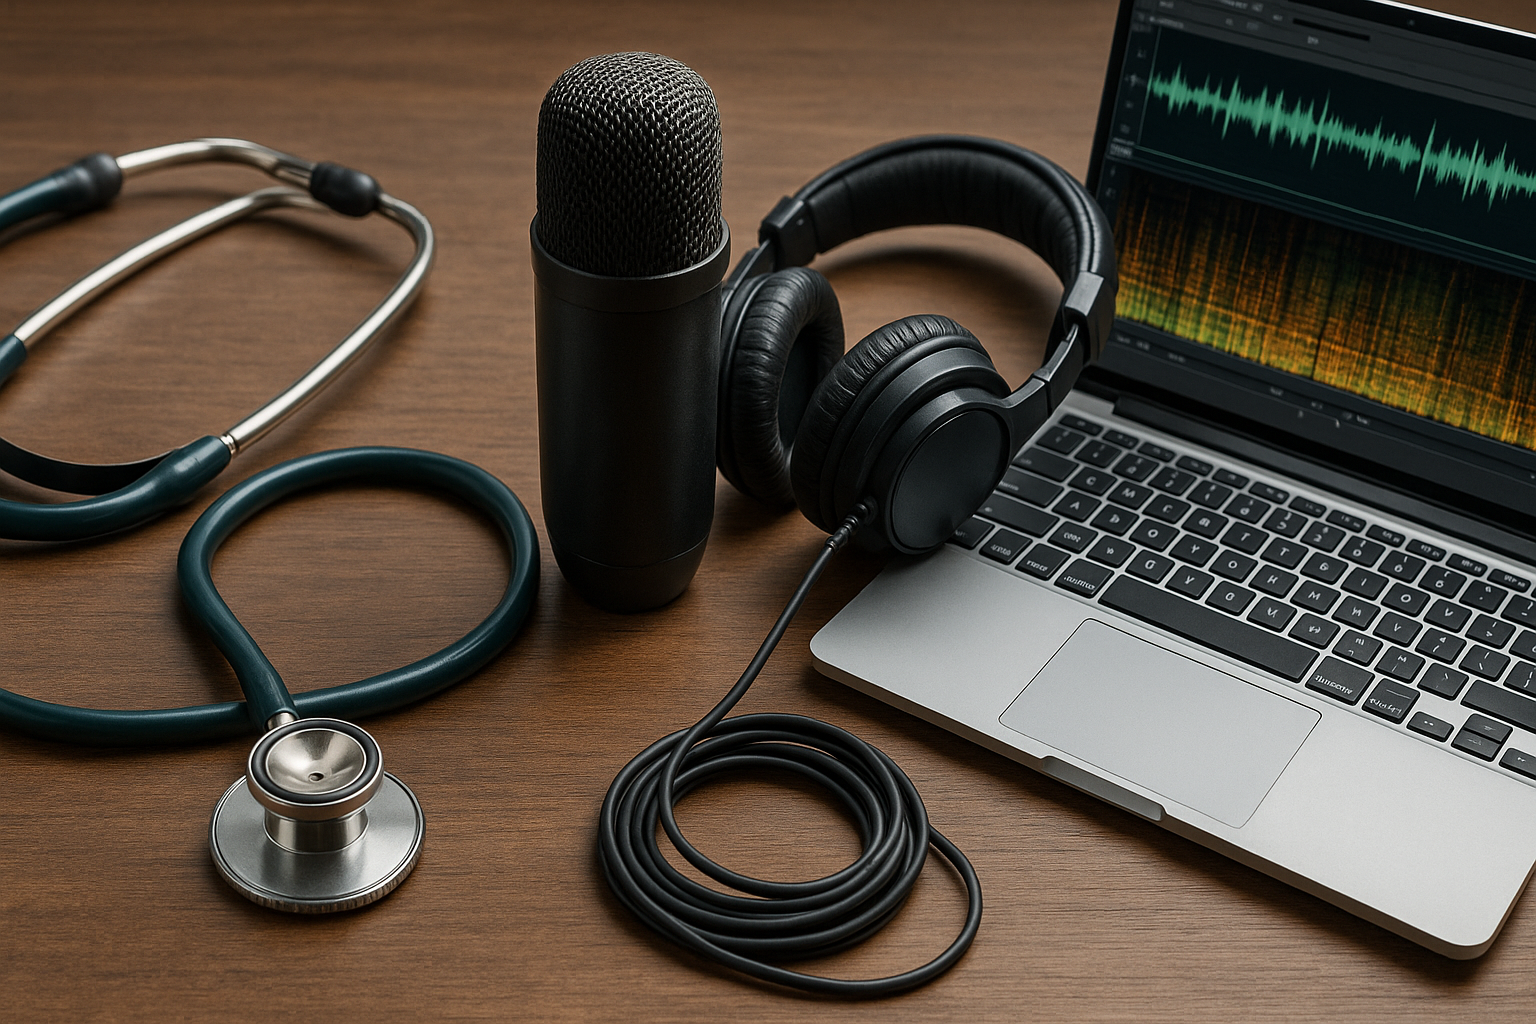
Telemedicine recordings for diagnostics
Telemedicine relies heavily on audio when doctors examine heart, lung, or bowel sounds through electronic stethoscopes. Raw recordings may contain background noise, handling artifacts, or environmental disturbances. FFmpeg can clean such recordings with filters, apply normalization for consistent loudness, and segment files into diagnostically relevant sections.
Another practical use is synchronizing multiple recordings. For example, if a telehealth session captures both a patient’s voice and stethoscope feed, FFmpeg can align tracks and save them in one container for easier review.
Podcasts and audio education in medicine
Medical education is increasingly delivered through podcasts and recorded lectures. FFmpeg is a reliable way to trim interviews, add short introductions, or export the same lecture in different quality levels for streaming and offline use.
A rare tip for podcasters: FFmpeg can automatically level out volume across long recordings, which avoids listener fatigue. This is particularly useful when multiple speakers are recorded with different microphones.
Preparing audio for machine learning
Training data for machine learning models requires strict consistency. Whether building a speech recognition model or a classifier for cough and breathing sounds, every file must have the same sample rate, channel layout, and metadata. FFmpeg batch processing makes this possible.
Researchers also use FFmpeg to anonymize patient data in audio recordings by stripping metadata and segmenting files so that only the relevant acoustic content remains. This step is critical for compliance with data protection laws in healthcare.
Integration with APIs and advanced workflows
FFmpeg does not work in isolation. It is often paired with modern AI services for automation. For instance, the Graphlogic Speech-to-Text API allows you to transcribe audio that has already been cleaned and normalized with FFmpeg. On the other side, the Graphlogic Text-to-Speech API can generate natural speech from written medical scripts, which can then be processed in FFmpeg to adjust speed, pitch, or add background sounds for training scenarios.
This synergy makes FFmpeg a backbone of many AI-driven pipelines where quality, reproducibility, and scalability are essential.
Archiving and long-term preservation
In hospitals and universities, audio records are often stored for years. FFmpeg supports lossless formats that preserve every detail without compression artifacts. By embedding standardized metadata, institutions can ensure recordings remain searchable and compatible with future systems.
A rare but valuable practice is saving two versions of each file: one in a compressed format for daily use and another in a lossless format for the archive. FFmpeg can automate this dual-output workflow in a single pass.
Troubleshooting Common FFmpeg Issues
Using FFmpeg regularly involves solving quirks below. These tips reflect expert lessons learned.
- Unsupported codec or container format appears as an error. Solution: install necessary codec library or recompile FFmpeg with support for that codec. Check build info from ffmpeg -codecs or ffmpeg -formats.
- File too large or memory issues. Break files into parts or use streaming input or use -ss and -t to limit processing region.
- Poor audio quality after filtering. Use lossless formats during processing then compress only the final version. Avoid multiple encoding cycles.
- Timing or sample rate mismatch when mixing files recorded at different sample rates or channel layouts. Resample all inputs using -ar and -ac.
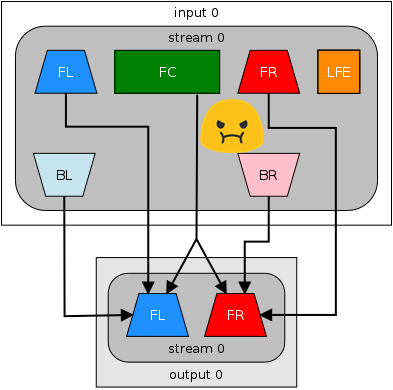
- Channel mapping mistakes for multichannel audio. Use -filter_complex for mapping channels properly or using channelmap or amerge filters.
Trends and Forecasts in FFmpeg Audio Technology
Here are some current trends and expert predictions related to audio processing and FFmpeg use especially in healthcare and AI.
- Higher fidelity remote diagnostics There is growing interest in recording at 48 kHz or above sample rates for remote auscultation stethoscope or ear recordings. Lossless formats or high bit depth will become more common.
- Real time filtering and noise suppression Using FFmpeg or related libraries at edge devices such as mobile phones or embedded devices filtering out background noise or artifacts in real time will grow.
- AI assisted audio enhancement Speech enhancement models denoising or dereverberation will integrate with FFmpeg workflows more. APIs will allow pre or post processing.
- Voice AI regulation in sensitive settings Medical recordings involve privacy and consent. Future legal frameworks will enforce metadata handling, encryption and secure storage.
- Standardization of audio metadata and formats In research and telehealth there is demand for standard metadata tags formats for interoperability.
Based on current adoption data, voice AI tools are being adopted by over 90% of global businesses in some sectors such as customer service and healthcare. This suggests demand will rise further.
Useful Rare Details and Tips
Here are less known but useful points especially for experts wanting precision.
- Use -af aresample=resampler=soxr when you need high quality sample rate conversion because Soxr resampler gives better fidelity.
- Use -filter_complex when combining multiple inputs or mixing channels especially more than two.
- For loudness normalization use -filter:a “loudnorm=I=-16:TP=-1.5:LRA=11” which follows EBU R128 standard.
- Use -c:a pcm_s24le or pcm_f32le when you need 24 bit or floating point audio for research before final compression.
- Some filters introduce latency or phase shift such as equalizers or reverb check group delay when doing clinical measures.
- Always keep original raw files intact and process copies to avoid loss during repeated compression.
Key Takeaways About Using FFmpeg for Audio
- FFmpeg is a powerful free tool for audio processing research content production medical technology.
- With basic commands you can convert formats, extract audio, adjust volume trim or resample.
- Advanced features such as filters metadata mixing batch processing enable high quality work.
- Trends move toward real time enhancement AI assisted workflows, higher fidelity and privacy regulation.
- Pairing FFmpeg with speech AI tools improves capacity for automated transcription generation synthetic speech applications medical documentation.
Final Thoughts
FFmpeg offers reliability precision flexibility for anyone working with audio. In medicine and health technology high quality audio matters for research diagnostics education accessibility. FFmpeg supplies the core tools to prepare audio data. When you combine with services such as Graphlogic Text-to-Speech API you can generate voice content then edit or enhance it using FFmpeg. When you use Graphlogic Speech-to-Text API you can transcribe medical speech data then review, annotate or analyze. Using these together helps build workflows that are reproducible, transparent and high quality.
I hope this guide gives you a solid foundation and confidence to work with FFmpeg in medical audio settings.
FAQ
You install based on your OS. On Windows download static build or use a package manager. On macOS use Homebrew. On Linux use apt or yum or similar. Confirm by running ffmpeg -version.
Basic commands include converting format using -i input output, trimming using -ss and -t, extracting audio from video using -vn, adjusting volume using volume filter.
Yes you can use shell scripting loops on Linux or PowerShell on Windows. Use wildcard patterns. Use -threads to use multiple CPU cores.
Filters go under -filter:a or within filter_complex for more complex graphs. Use built in filters such as volume, atempo, highpass, loudnorm. Chain filters for combined effects.
Check available formats with ffmpeg -formats and codecs with ffmpeg -codecs. If missing codec, recompile FFmpeg or install external codec library. Convert to a common format like WAV for processing.
Record at high sample rate bit depth use lossless format during processing keep noise low use proper filtering then apply normalization last avoid repeated compression. Add metadata for patient anonymization and legal compliance.